Are you on your Facebook app drowning in a sea of outdated messages? Don’t worry, we’ve created a simple navigation guide to assist you in Delete Facebook Messages from your Android smartphone.
Why Delete Facebook Messages on Android?
Precious storage on your Android device can be quickly clogged with pointless texts. Facebook message deletion guarantees an efficient and well-organized online experience in addition to freeing up space.
Step-by-Step Guide to Deleting Messages
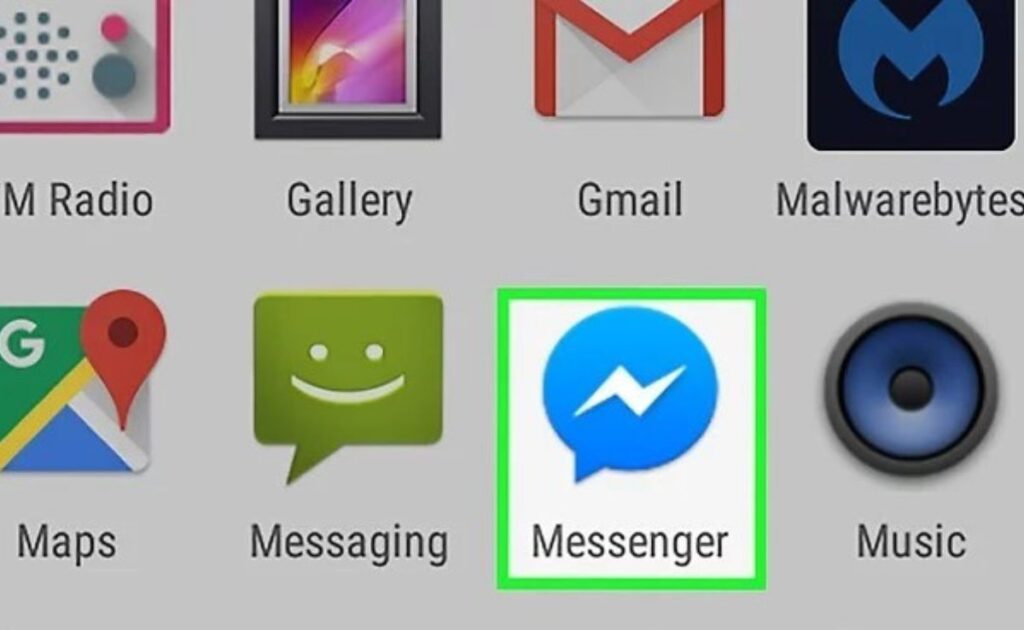
1. Open Your Facebook Messenger App
Go to the home screen of your Android device and press the Facebook Messenger app icon. To view your messages if you haven’t logged in, enter your login information.
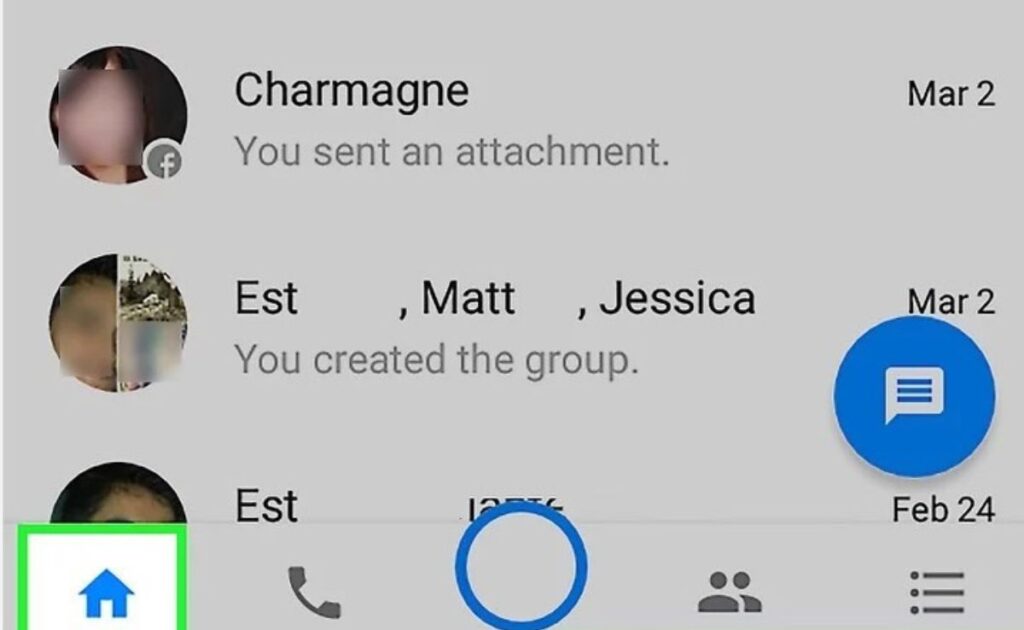
2. Locate the Conversation
Once the Messenger app is open, locate the conversation that has the texts you want to remove. To access the conversation, tap on it.
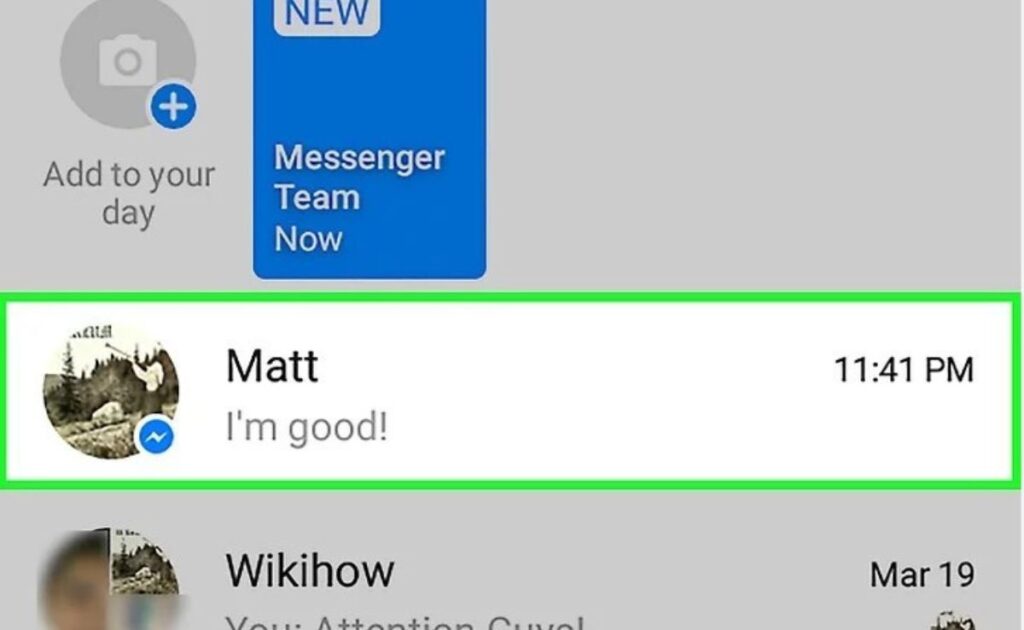
3. Select the Messages
Press and hold the particular message you wish to remove. This will bring up the selection mode, where you can select more than one message if necessary.
4. Delete Selected Messages
Once the messages are selected, search your screen for the trash can icon or any other delete option. To verify the removal, tap on it.
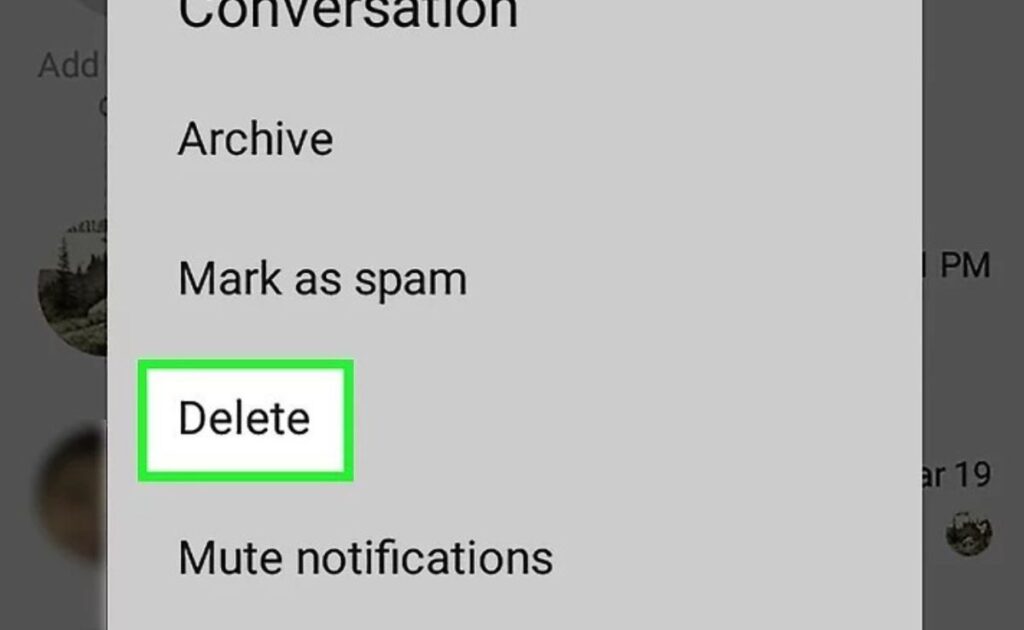
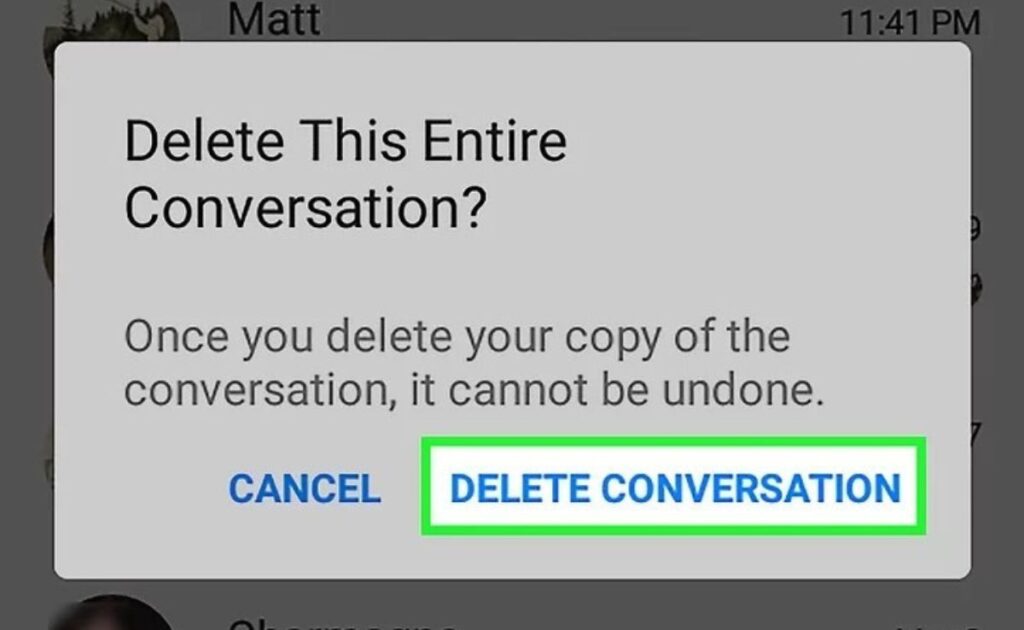
5. Delete Facebook Entire Messages
If you would rather take a more comprehensive approach, return to the Messenger home screen, tap and hold the discussion you wish to end, and then search for the trash or delete icon. Validate your choice.
Conclusion
You can now have a clutter-free digital area on your Android device as you’ve learned the art of delete Facebook messages. Whenever you need to organize your message history and improve your Android experience, just follow this easy navigation method.
FAQs
It is true that Facebook offers a window of time for message recovery after deletion. To begin, navigate to the “More” menu, choose “Archived,” and then follow the instructions.
No, removing a message from your display only accomplishes that. Until the recipient decides to delete Facebook messages as well, nothing happens to their chat history.

