In today’s digital world, managing our online interactions is crucial, and Facebook plays a significant role in keeping us connected. If you’ve ever wondered how to delete Facebook messages on your desktop, you’re in the right place. In this step-by-step guide, we’ll walk you through the process, ensuring you can maintain a clutter-free and organized messaging space.
Why Delete Facebook Messages?
Before we dive into the steps, let’s briefly discuss why you might want to delete Facebook messages.
Privacy Concerns
With increasing concerns about online privacy, deleting messages containing sensitive information ensures an extra layer of protection.
Declutter Your Inbox
An overflowing inbox can be overwhelming. Deleting unnecessary messages helps declutter, making it easier to find and focus on essential conversations.
Create Space for Meaningful Chats
By deleting unnecessary messages, you create room for more meaningful and relevant conversations, allowing you to stay connected without the digital noise.
How to Delete Facebook Messages – Step-by-Step Guide
Now, let’s get into the nitty-gritty of deleting Facebook messages on your desktop.
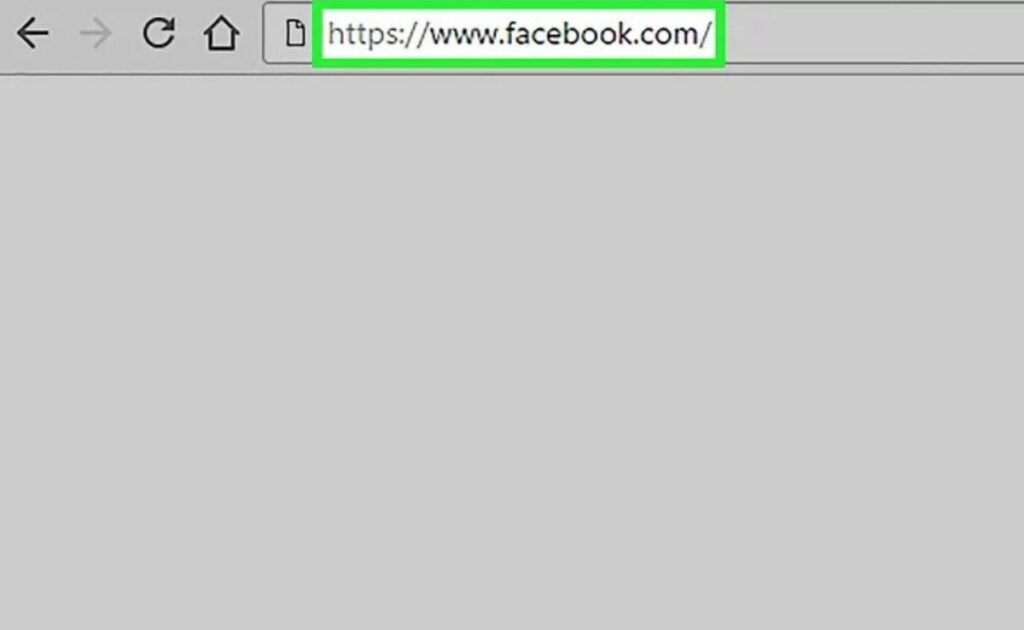
1. Log into Your Facebook Account
Begin by logging into your Facebook account on your desktop. Enter your credentials and click “Log In.”
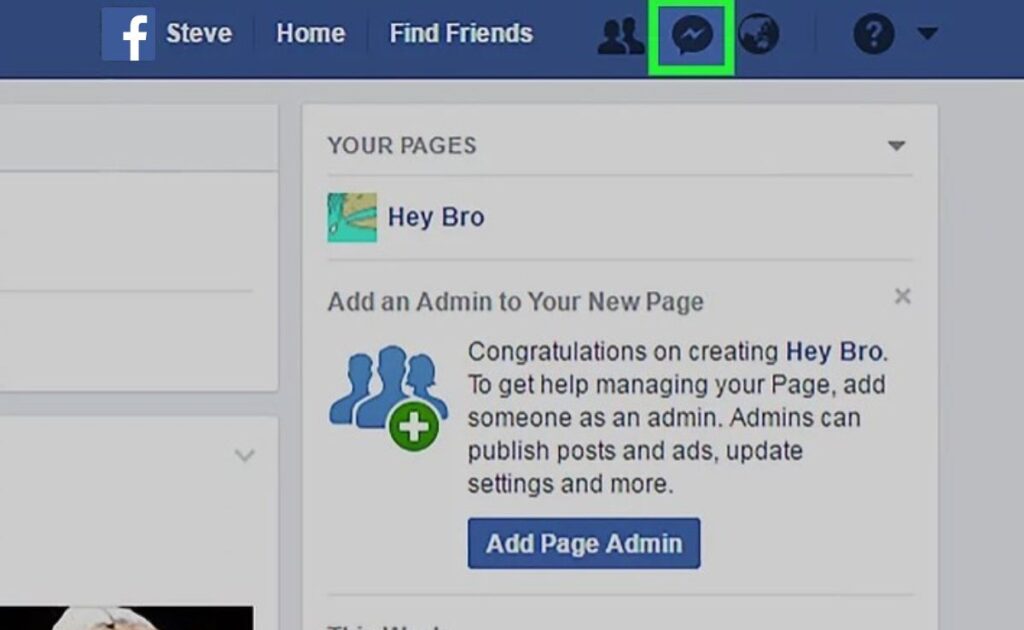
2. Navigate to the Messenger Section
Once logged in, navigate to the Messenger section, typically located on the left side of the Facebook homepage. Click on “Messenger.”
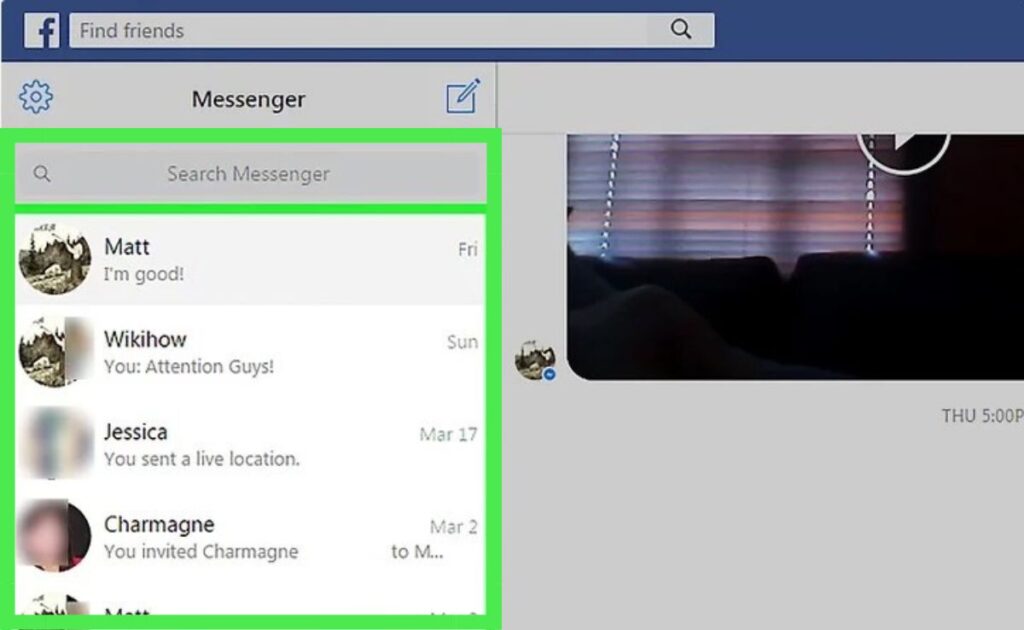
3. Locate the Message to be Deleted
Scroll through your conversations and find the specific message you want to delete. Click on the conversation to open it.
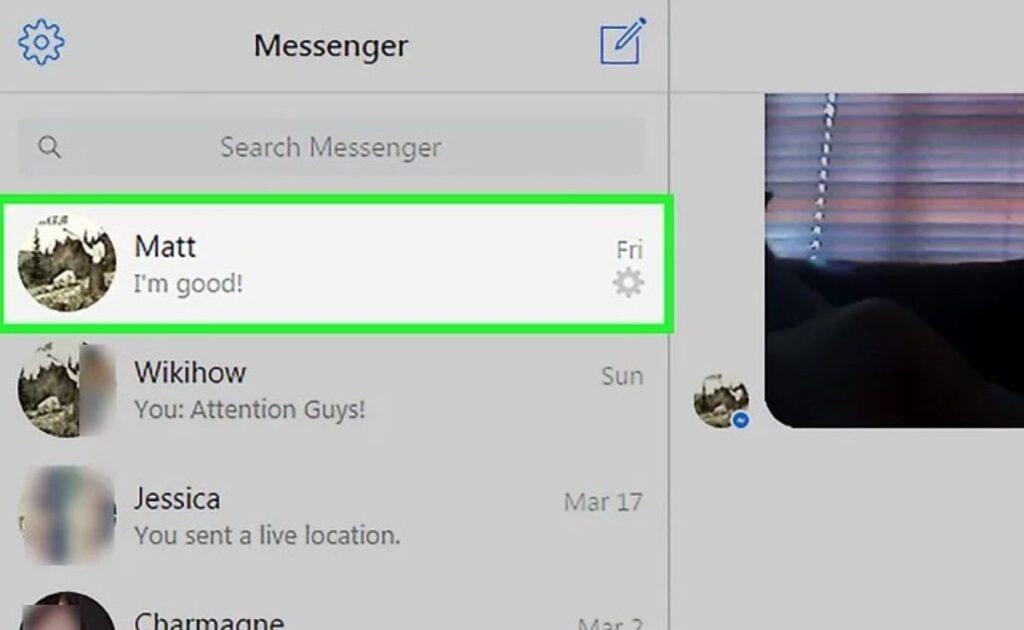
4. Open the Message
Inside the conversation, locate the specific message you wish to delete. Click on the message to open it in a larger view.
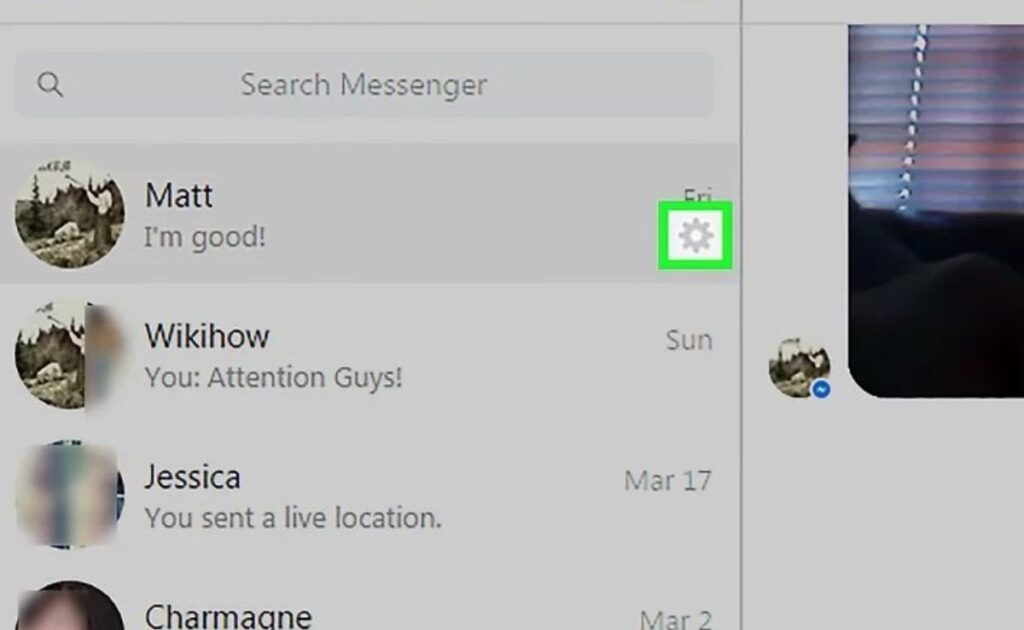
5. Click on Options: Find the Delete Button
Within the message, look for the options menu—usually represented by three dots or a gear icon. Click on it to reveal a dropdown menu, and find the “Delete” option.
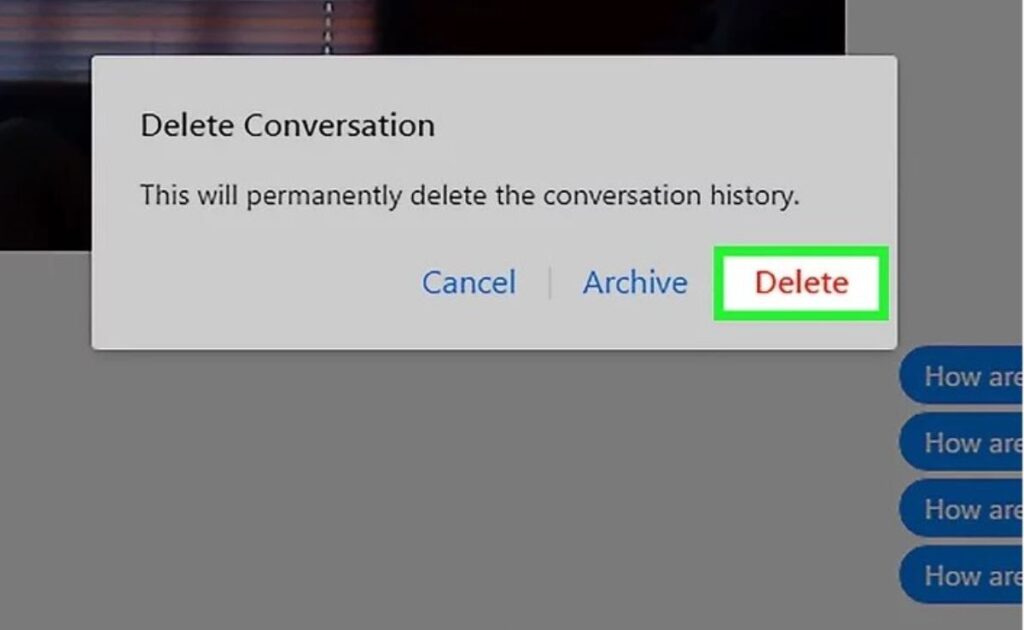
6. Confirm Deletion: Are You Sure?
Facebook will ask for confirmation to ensure you want to delete the selected message. Confirm by clicking “Delete.”
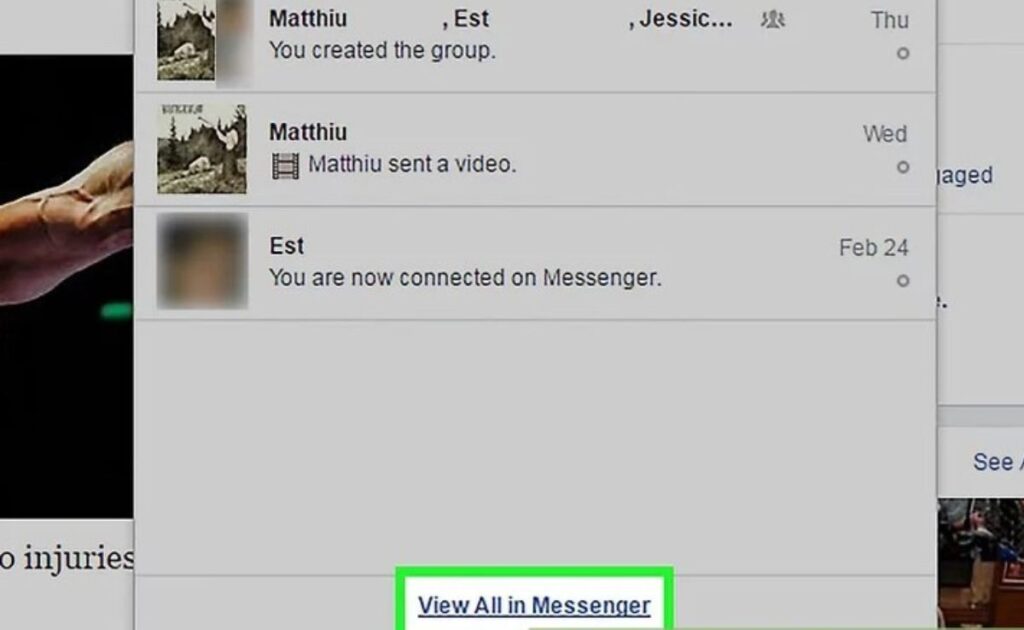
7. Double-Check: Ensuring the Message is Gone
After confirming, double-check the conversation to ensure the message is deleted. Once confirmed, the selected message is now permanently removed.
Conclusion
In conclusion, deleting Facebook messages on your desktop is a simple process that enhances your online privacy and maintains a tidy digital space. By following this step-by-step guide, you can take control of your digital conversations and ensure a clutter-free messaging experience.
Frequently Asked Questions (FAQs)
Unfortunately, once a message is deleted, it cannot be retrieved. Facebook emphasizes the irreversible nature of message deletion.
Yes, deleting a message removes it from both the sender’s and the recipient’s inboxes, ensuring privacy for both parties.
No, there are no specific limitations on the number of messages you can delete. You have full control over your message management.
Archived messages can be recovered by accessing the “Archived” folder within the Messenger section.
As of now, Facebook does not offer an automatic message deletion feature. Regularly managing your messages is recommended.

